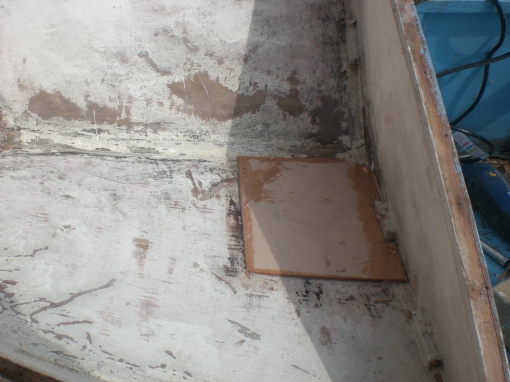
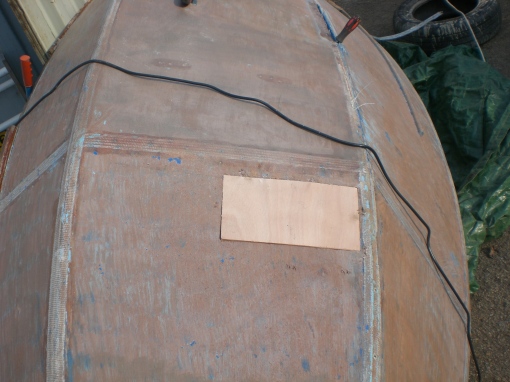
CIMG3341

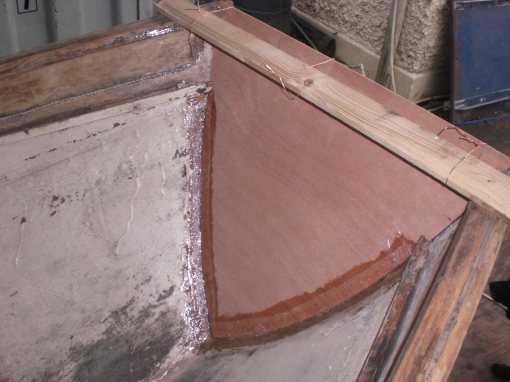
inside bow locker finished

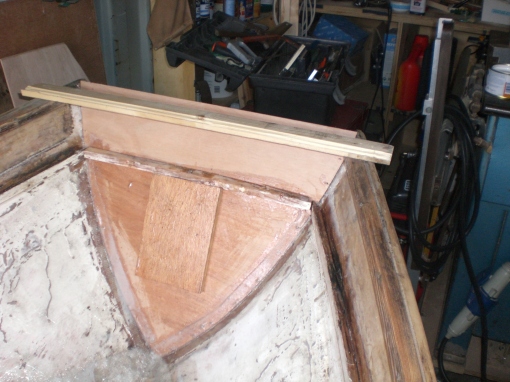
As promised some more pictures of the bow locker repairs. please note that the runs in this picture are from the origonal work not mine!! You can see the stringer that will support the fore deck and into which I will screw fix the deck. I gave the stringer a liberal coat of west system resin before fitting the deck to act as a glue.

CIMG3731

underside of bow deck

the supports under the fore decks  were the originals re used

CIMG3324

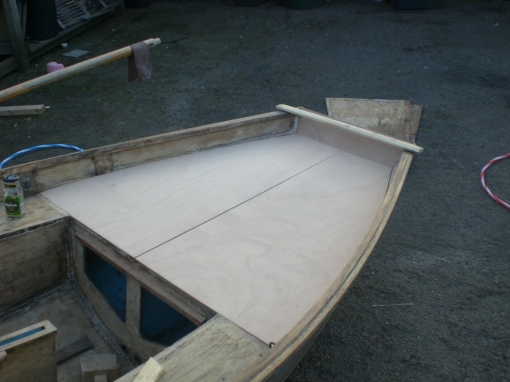
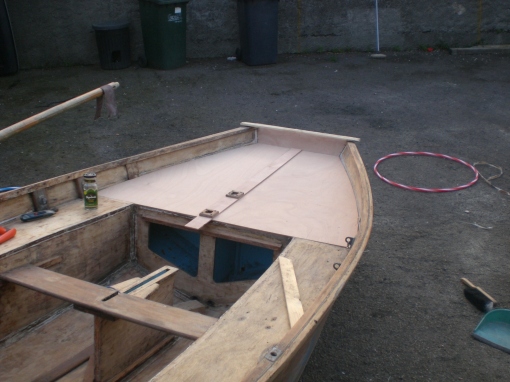
fore deck fitted prior to fixing

I fixed the deck with stainless steel screws aw 150mm centres to the stringer . These screws will be hidden with the fibreglass tape.

The plywood for the old fore deck was in poor condition so I decided to replace the two decks with new 4mm marine ply decks. I used the old decks as templates and used a jigsaw to cut the new decks, finishing them with a sure form.

New forward decks

New forward decks

I re used the deck braces that were still in good condition and I painted the underside of the decks with primer and International undercoat.

under side of decks primed and ready for undercoat.

under side of decks primed and ready for undercoat.

Next step fitting the decks and mast steps.

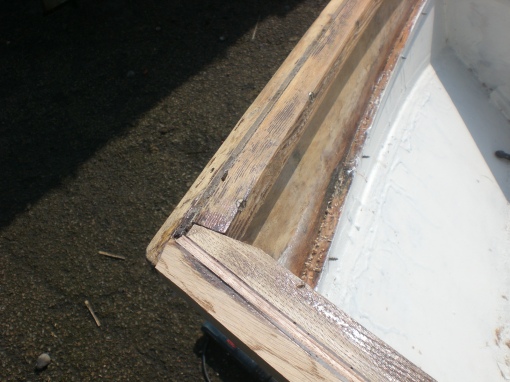
I used some oak that I had in the shed to make a new section of gunwhale for the bow. This is now glued into place with West system resin.

New gunwale detail

New gunwale detail

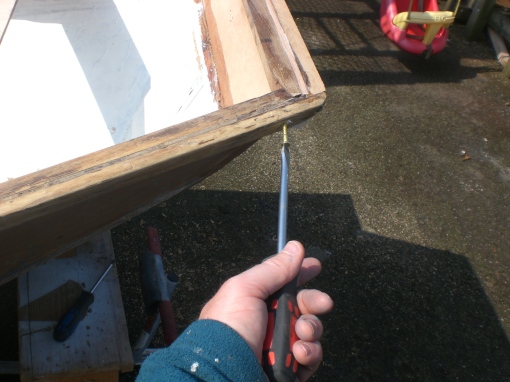
When the resin went off I drilled and screw fixed the gunwales for additional strength

screwing the gunwales

screwing the gunwales

Be careful when buying brass screws, these are scarce now and most of the screws that you see in the hardware stores are yellow metal and will corrode in salt water. I went to a chandler to get proper brass screws, and I never throw out brass fittings or screws!.

I have replaced the backing for the bow which holds the forward chain plate. I glued this into place with waterproof glue and screwed it with brass screws through the bow plate.  The next step is paintingCIMG3277

CIMG3337I re used all of the forward deck support timbers , simply to save on the effort of copying them. These were screwed and glued into place prior to painting the inner lockers.

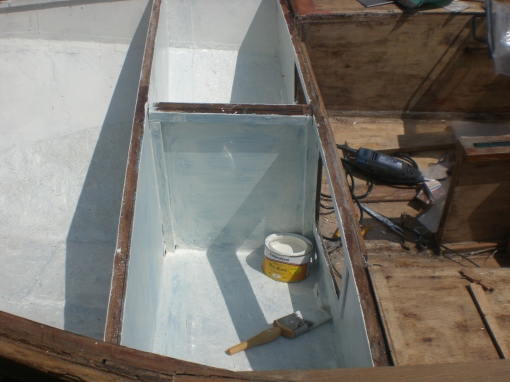
the bow lockers. I am using International paints starting with precoat (3 coats) and then finishing with International gloss

Always use the best paint available.

Always use the best paint available.

I find that the International range of paints are very good, they give good coverage and a high level of opacity per coat. Don’t try to save money on cheap non marine paints it really is not worth it. This is particularly true when painting inside lockers where future maintenance will be troublesome.

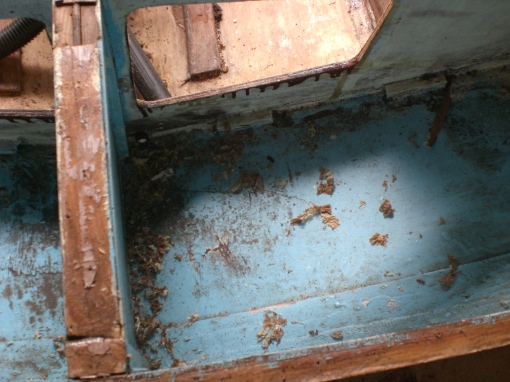
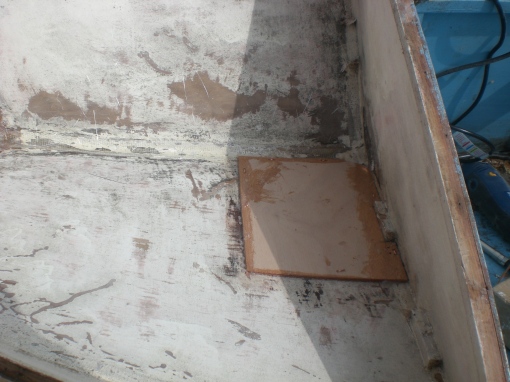
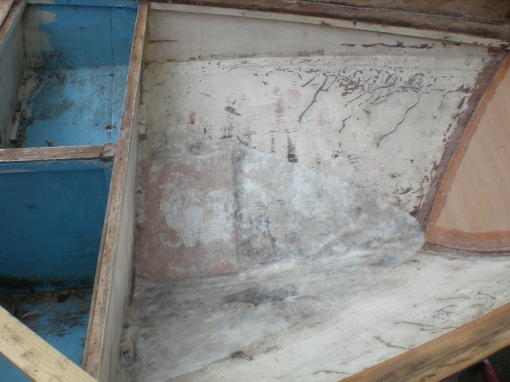
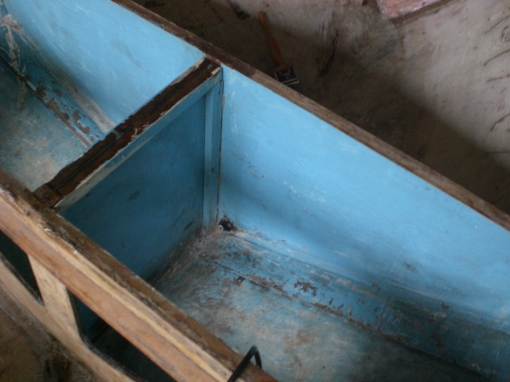
This boat, like many other mirror dinghy’s, had obviously spent a period of its life left deck up & exposed to the weather. There is  a tide mark inside the lockers. Given that this boat is never to be a racing mirror I have decided to line the damages part of the bow lockers with a layer of chopped strand mat and resin. I sanded the lockers where they were to be glassed ensuring that there was no flaky paint. I then used a vacuum cleaner to remove all of the dust and cleaned the area with acetone (cellulose thinners will work as well).I cut a piece of the chopped strand mat to the required shape. I then mixed west system resin and hardener and painted the area to be treated with a generous coat of the resin. Next I placed the pre-cut mat into position and worked the resin through it with a brush, that I had shortened to give stiffer bristles, to work in the mat I dabbed the brush rather than using a brush type stroke. I have repeated this process in the two open lockers , both of which had some cracking. The result is excellent, very stiff and strong.

Bow lockers pre treatment (cracks visible near the centre vertical line)

Bow lockers pre treatment (cracks visible near the centre vertical line)

Bow buoyancy locker sanded and ready for glassing

Bow buoyancy locker sanded and ready for glassing

choppes strand in place , the next step is to dab the mat until the resin is absorbed.

choppes strand in place , the next step is to dab the mat until the resin is absorbed.

once the mat has absorbed the resin remove any excess resin. the result is a very strong repair. the rest of the lockers will now be sanded out in preperation for painting.

once the mat has absorbed the resin remove any excess resin. the result is a very strong repair. the rest of the lockers will now be sanded out in preperation for painting.

Rot in bow lockers

Rot in bow lockers

Find the edge of the rot and cut to square

Find the edge of the rot and cut to square

back plate inserted

back plate inserted and stitched with copper wire

inserted repair panel wire stitched to back panel and glued with resin

inserted repair panel wire stitched to back panel and glued with resin

After shaping the bow section I stitched into place with copper wire and taped the seam with glasfibre tape and resin. I then pulled the wires out( after the resin had gone off) This worked fine but left marks in the tape- Am I doing this right? are you supposed to leave the wire stitches in place?

New bow panel in place

New bow panel in place

Taped outside

Taped outside

Removing the stitches left tracks in the taping

Removing the stitches left tracks in the taping

rotten bow about to be removed

rotten bow about to be removed

After searching around for good quality marine ply I have finally removed the bow  and used the existing bow plate as a template to cut the new one.

use only the best quality plywood

use only the best quality plywood

I was surprised at the amount of plywood that is sold as marine ply. If you are replacing any panels in your mirror you would be well advised to search around to find true marine ply. A word of warning a sheet of lloyds registered 4mm marine ply cost € 75 + vat. It ain’t  cheap but it is far better quality than other plywoods that I have found on the market.

bow panel used as template

bow panel used as template

I decided to to a bare wood restoration so I have stripped all of the varnish and paint off with a view to finding any rot. Generally when there are areas of blackened ply it will be rotten or weakened so  the first things to be replaced are the foredeck panels which I have carefully removed so that I can use them as templates. this has also allowed access to the forward  tanks. I have found rot here so I need to make some decisions as to how I will deal with it. I used broken picture glass as a scraper to remove varnish and paint stripper on the hull.

It is also clear that much of the fibreglass tape will have to be removed and replaced, as well as the bow panel. there is also some rot in the bulkheads where the fibreglass tape had failed.  The most difficult part of this stage is successfully removing the fibreglass without further damaging the woodwork.

looking at the overall condition of the boat and weighing this up against what the boat will be used for ( this is a boat for the kids to learn to sail in and have  fun rather than a show piece) I think that I will line the bow lockers with a layer of chopped strand mat and resin rather than replacing these sections of the plywood.  I will have to be careful not to use too much resin as I don’t want too much weight up there.

rotten bow section missing knees

rotten bow section missing knees

all paint and varnish removed for bare wood restoration

all paint and varnish removed for bare wood restoration

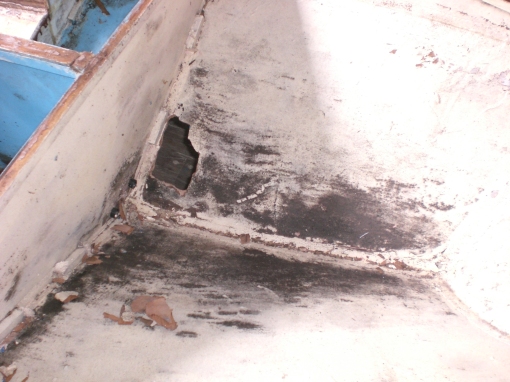
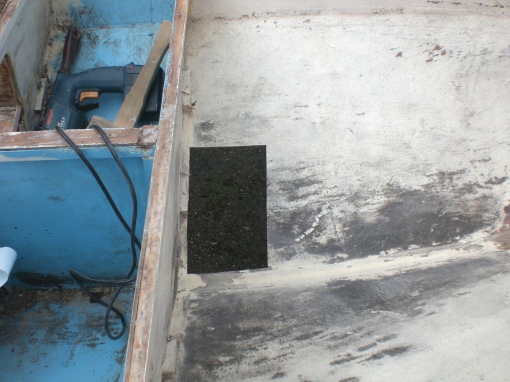
rot in bow lockers, the hole formed with hand pressure! The question is how far to go.
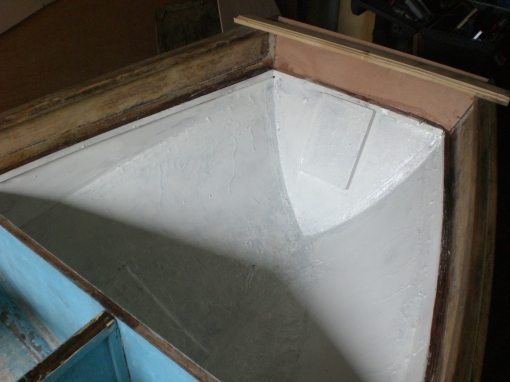
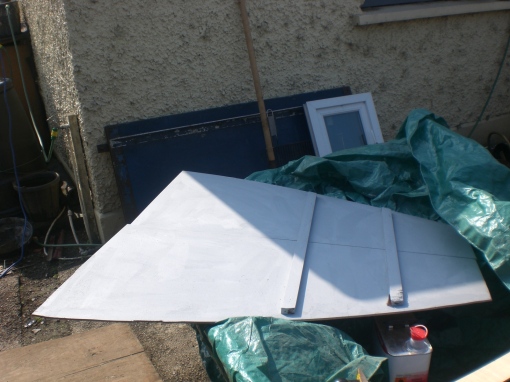
rot in bow lockers, the hole formed with hand pressure! The question is how far to go.
CIMG2686After getting the dinghy home and rigging it I made some good and bad discoveries. My first mishap was when I put my hand through the bow panel which was very rotten- not a good start.  however when I unloaded the trailer I found two complete sets of rigging both standing and running and three suits of sails – one a racing suit and one a standard suit. there was also a spinaker abd chute but no chute bag or spinaker pole. there was also a large amount of bits and pieces such as blocks, cleats  pintles gudgeons etc. there was also a fair amount of rope but as I would dsicover not enough. later I will prepare an inventory of what rope a completed mirror should have.

The boat had no oars or rowlocks, and I would advise anybody buying a mirror to insist on these as they are hard to find. – if anybody out there has mirror oars and they would like to part with them I would be happy.

By the serial number I reckon that the boat is early 70’s but I will check up on this later.